
0x00 前言
如今服务器 SSH 爆破的也越来越多了, 弱密码暴露在外非常非常危险。尽管本人的各类业务都使用私钥登录, 但由于使用了某 SSH 工具的云同步服务, 导致依然存在风险 😰
前两天买了个 YubiKey, 本来可以用作安全保护的手段, 奈何本人常用的 SSH 客户端不支持 PKCS#11。于是我就想起了 TOTP。那么有没有一种能为 SSH 登录添加 TOTP 2FA 的途径呢?
0x01 安装与配置
⚠ 注意
以下教程以基于
Debian的发行版为例, 其他发行版请自行寻找对应软件包
1. 安装 libpam-google-authenticator
非常简单, apt 一下:
$ sudo apt update && sudo apt install libpam-google-authenticator -y2. 为当前帐户配置 2FA
$ google-authenticator回车后应该会弹一个提示:
Do you want authentication tokens to be time-based (y/n)输入 y 并回车就能看到 TOTP 二维码 & Key 啦。
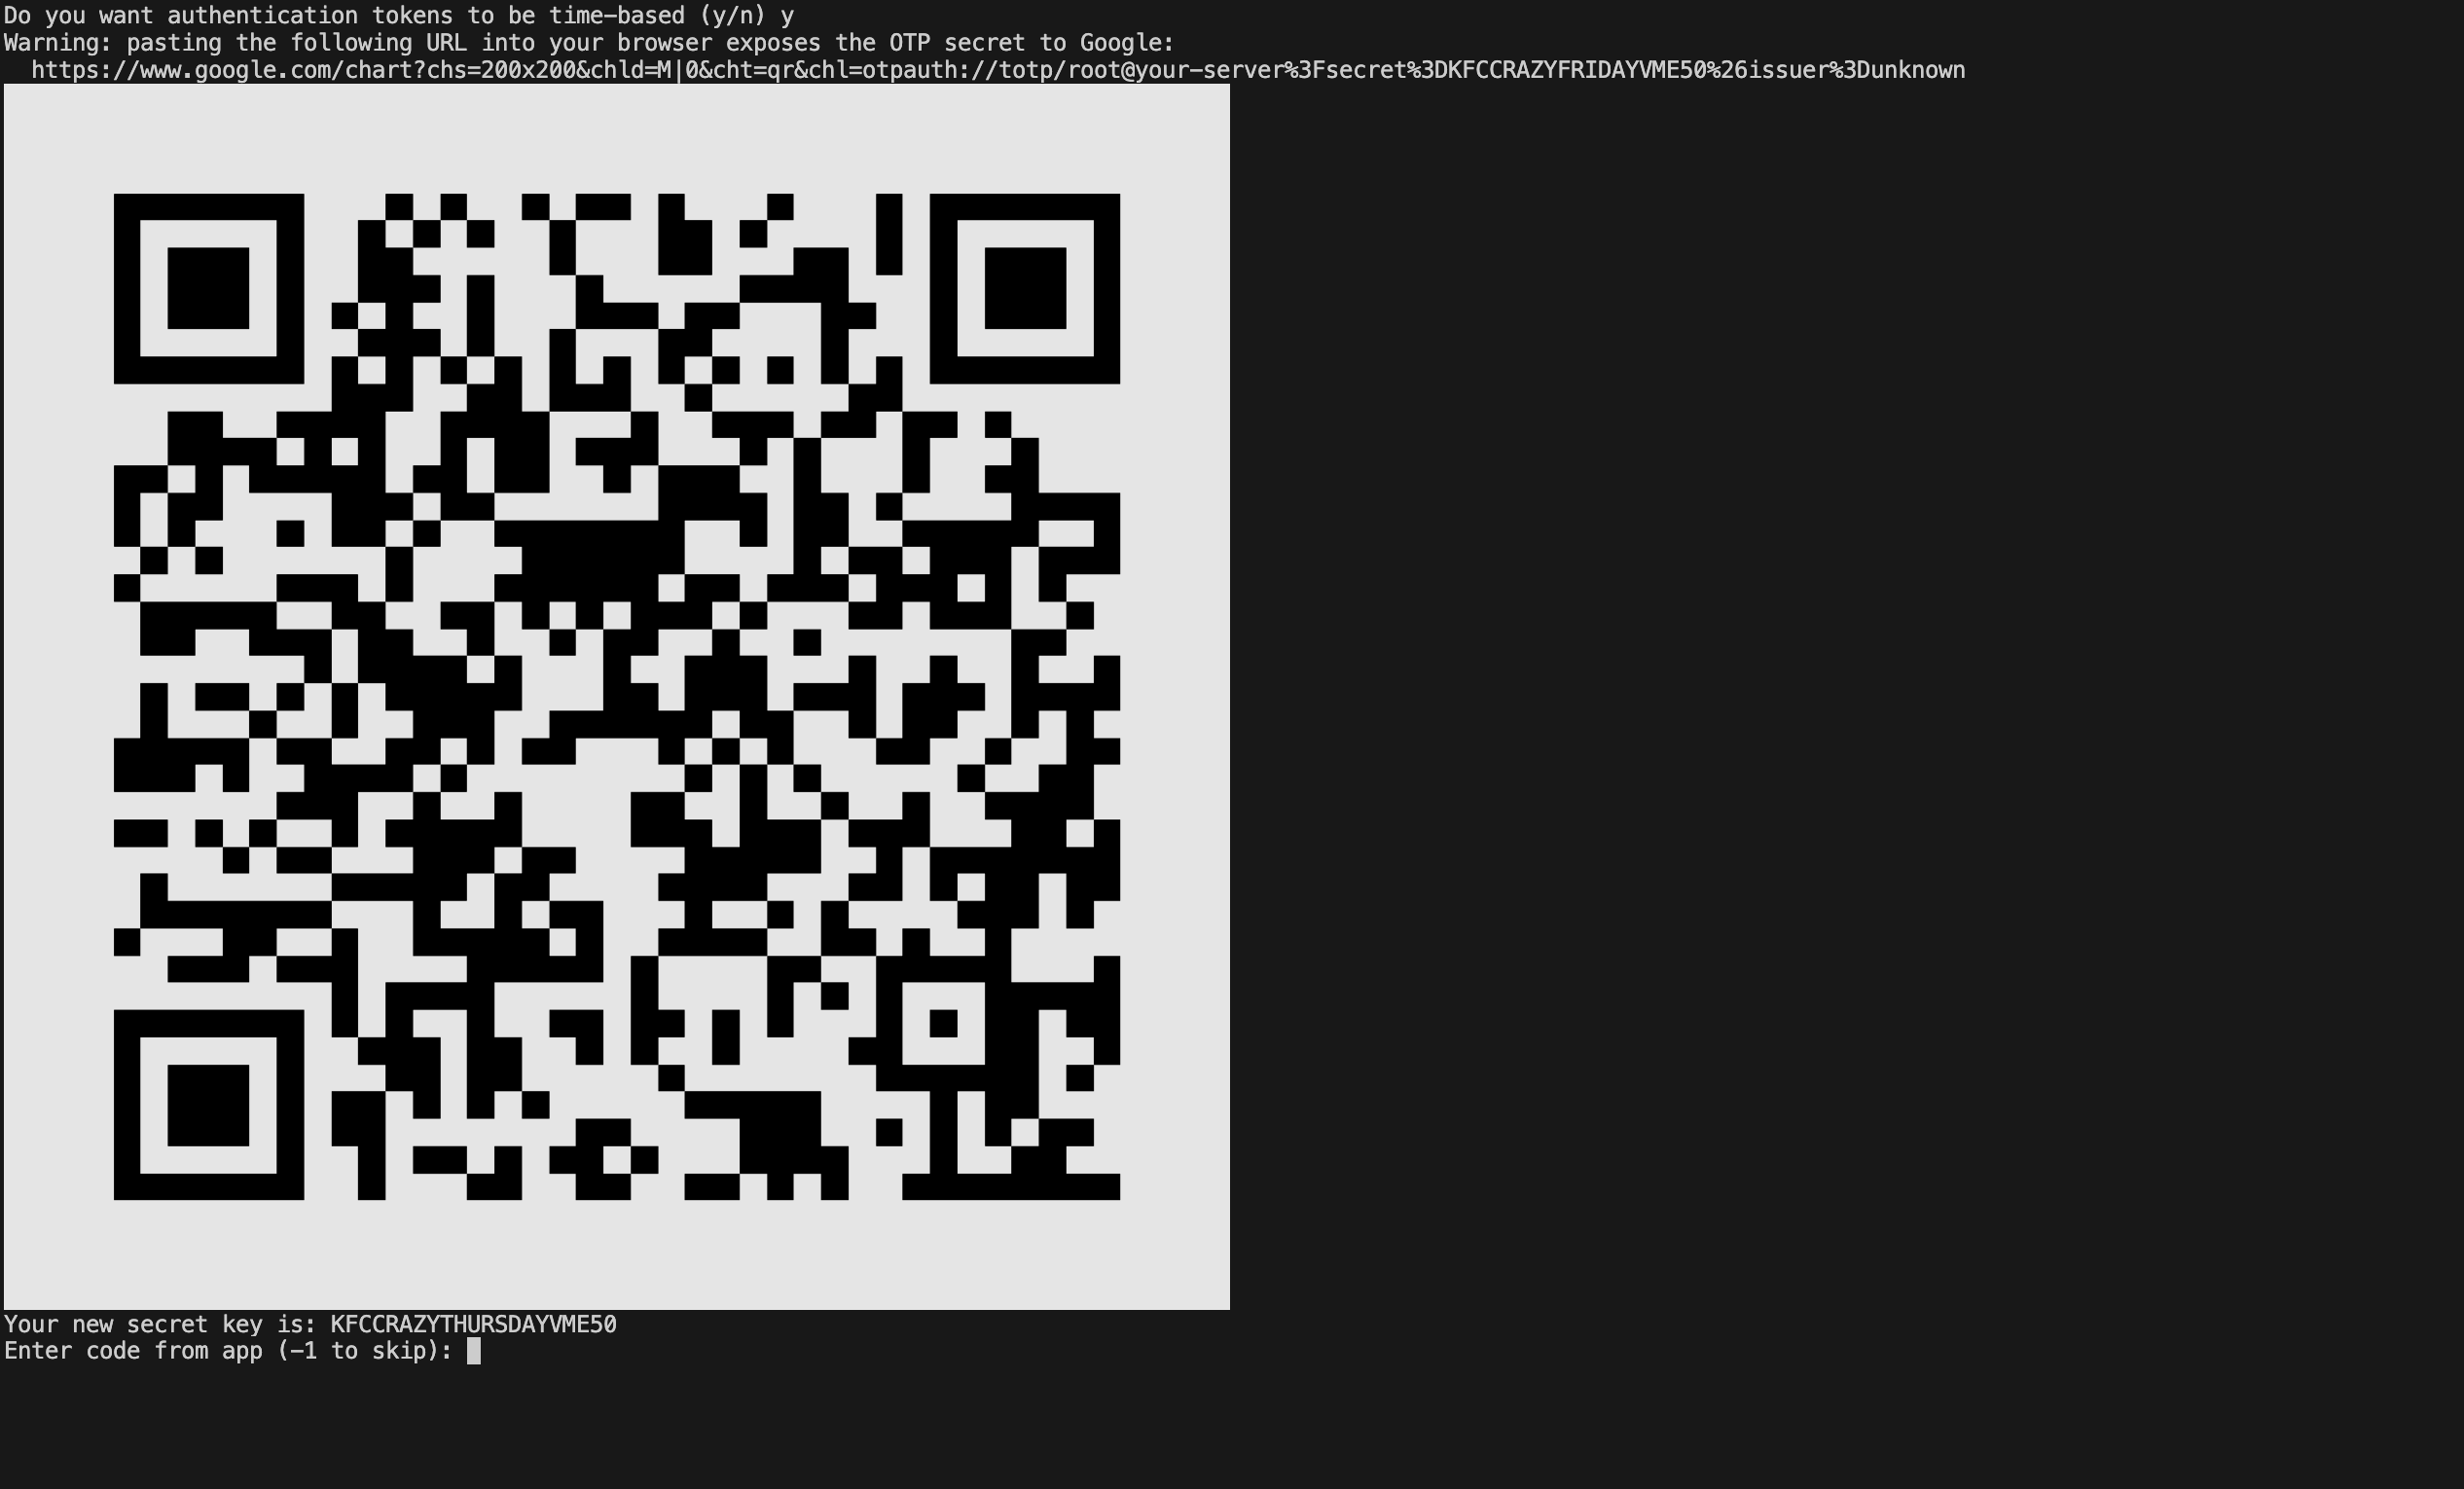
△ 二维码和 Key
接下来扫描二维码和 Key, 把它们添加到你的 2FA APP 里!
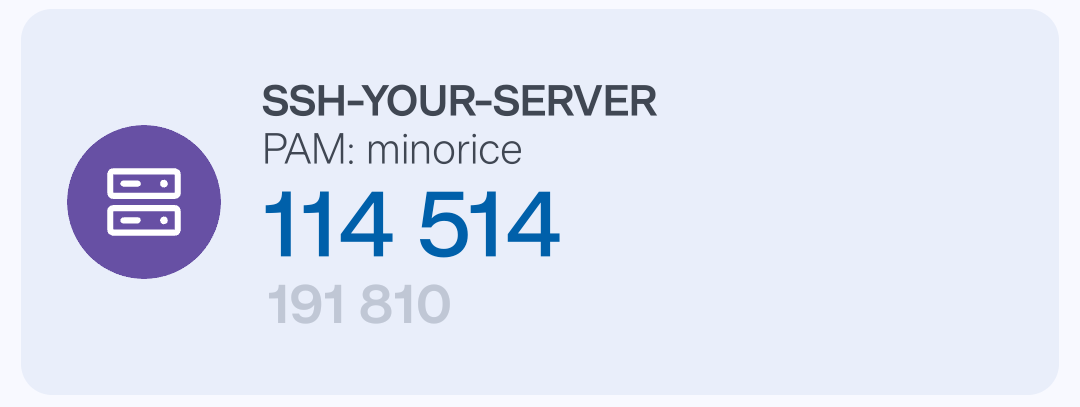
△ 添加至 Authenticator 应用
在 Shell 中输入一次你看到的 TOTP Code, 在上面的例子中, 就应该输入 114514 并回车。
接下来会显示 Recovery Code 以及四个选项:
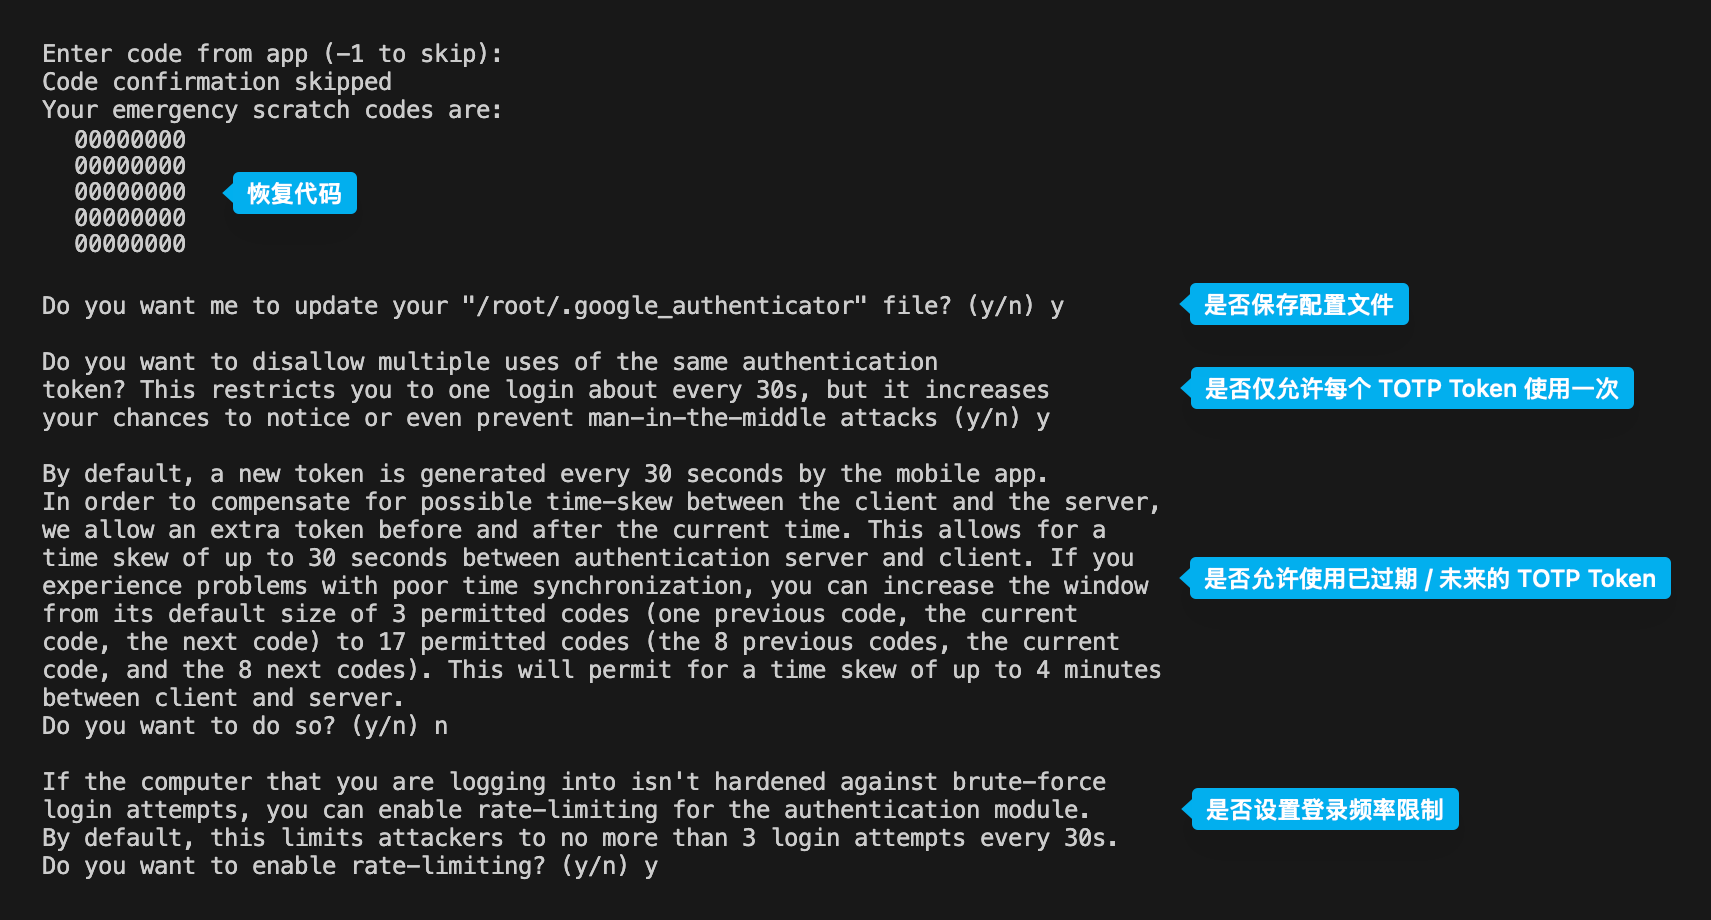
△ 恢复码和选项
把 Recovery Code 保存到安全的地方, 然后按需选择选项。第一个「是否更新 .google_authenticator」必须选择 y, 其他请根据个人喜好选择。
0x02 设置 PAM 和 sshd
接下来我们要让 PAM 使用 Google Authenticator 的 PAM 模块, 然后允许 SSH 登录时的 Keyboard Interactive Auth。
1. 修改 PAM 配置
首先 nano 一下:
$ sudo nano /etc/pam.d/sshd作如下修改:
diff --git a/sshd b/sshd
index 114514a..1919810 100644
--- a/sshd
+++ b/sshd
@@ -1,7 +1,10 @@
 # PAM configuration for the Secure Shell service

+# Google Authenticator PAM Auth
+auth required pam_google_authenticator.so
+
 # Standard Un*x authentication.
-@include common-auth
+# @include common-auth

 # Disallow non-root logins when /etc/nologin exists.
 account    required     pam_nologin.so
2. 修改 SSHd 配置
$ sudo nano /etc/ssh/sshd_config添加下面几行:
ChallengeResponseAuthentication yes
KbdInteractiveAuthentication yes # 如果已经设置了 KbdInteractiveAuthentication no, 请将 no 改为 yes
AuthenticationMethods publickey,keyboard-interactive
差不多啦, 最后重启一下 sshd 服务:
$ sudo systemctl restart sshd0x03 完成!
现在登录即可享受 TOTP 验证:
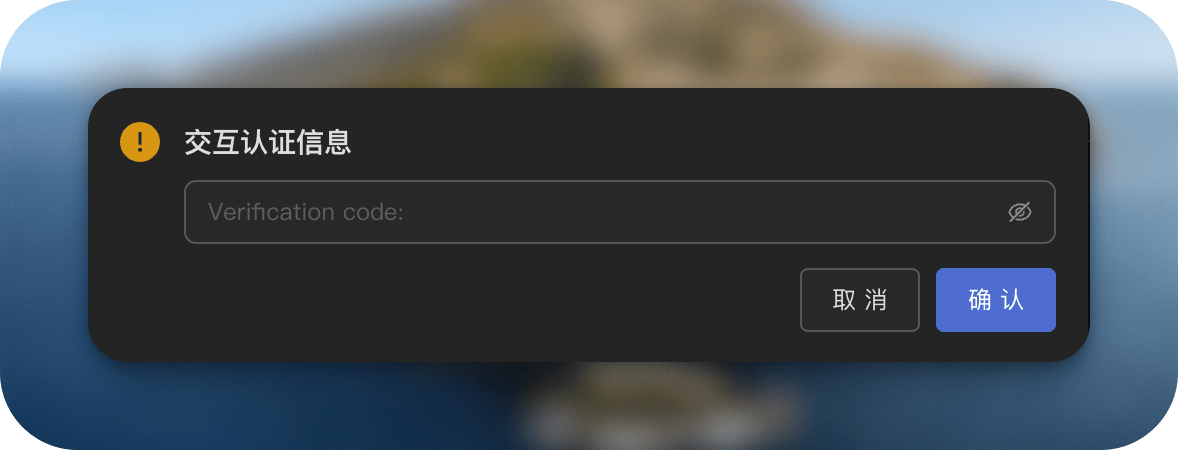
安全感 +++